Configure Xerox Standard Accounting
- Log into printer as admin
- Go to Permissions – Accounting Method
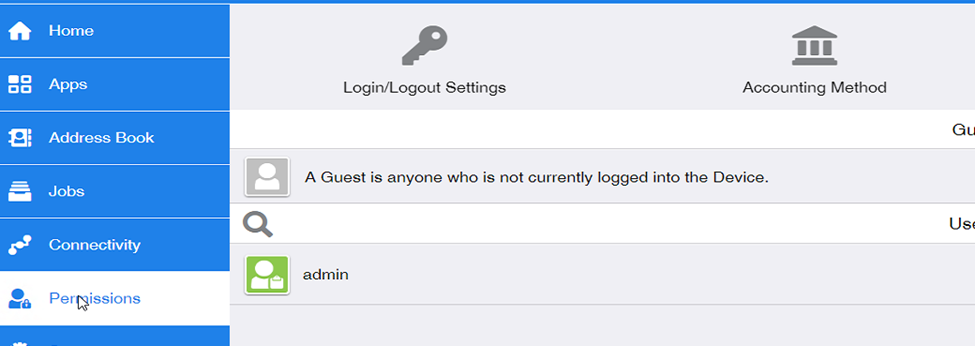
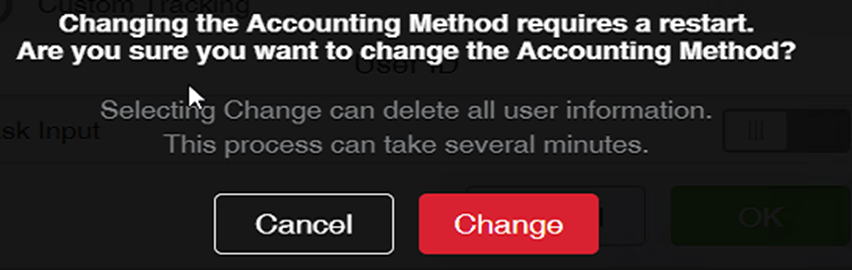
- Select Xerox Standard Accounting

- Only Track Color Copies and Prints

Add User
- Log into printer as admin
- Go to Permissions – User Accounts
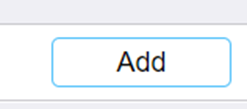
- Click Add
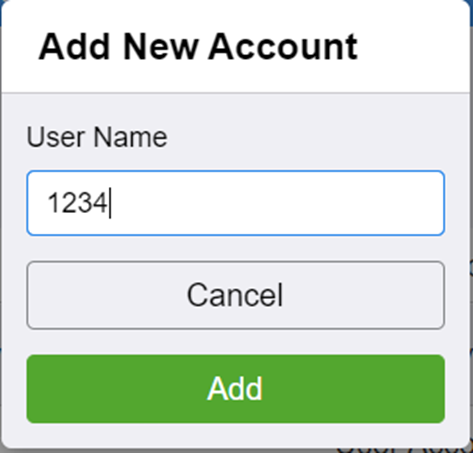
- Enter username/pin code (example: 1234)
- Click Add
Configure accounting code on PC
- Install Xerox Smart Start to install printer.
- Open Devices and Printers
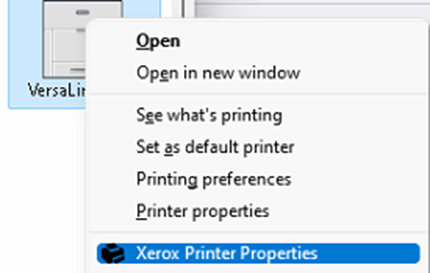
- Right click on Printer
- Go to Xerox Printer Properties
- Change accounting method to Charge Me
- Enter in code to authorize color 1234
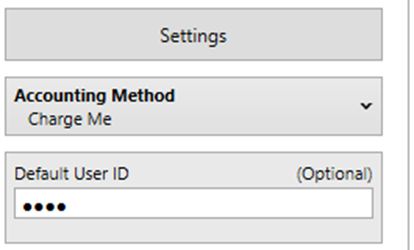
- Click Setttings

- Change Tracking Options to Tracking Only for Color
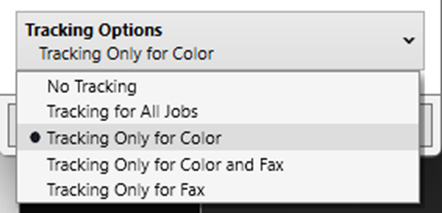
- Click OK